Chapter 1: Part 4 – A Guide for Total Beginners: Setting Up Your 3D Printer and Preparing for Your First Print
A Beginner's Guide to Your First Print
Starting your 3D printing journey is an exciting step, but it all begins with setting up your printer and preparing for that first print. Whether you’ve purchased a pre-assembled printer or need to build it from the ground up, this guide will walk you through each step to ensure a smooth experience.
Unboxing and Assembly
When you first open your 3D printer box, take time to carefully inspect all the components. Make sure you have everything listed in the manual, and take note of any tools that come with your printer. Most printers come partially assembled, and some may require you to attach parts like the print bed, gantry, or the extruder.
Tips for Assembly:
Work on a clean, flat surface to keep parts organized.
Follow the manual step-by-step, as it will guide you through assembly with ease.
If assembly requires bolts or screws, use the provided tools carefully. Tighten parts gently to avoid damaging the frame.
Once assembled, make sure your printer is placed on a level surface and connected to power.


Automatic Calibration
Many modern 3D printers come with built-in calibration features. These settings often include:
Automatic bed leveling: The printer will level the bed for you, ensuring the nozzle is the correct distance from the bed across all areas.
Resonance test: Some printers will perform a resonance test to fine-tune the movement of the print head for optimal print quality.
Filament loading guide: The printer may also walk you through the process of loading filament.
If your printer has these features, you can disregard the manual leveling and loading filament instructions provided below, as the printer will take care of them automatically and walk you through the steps.

Leveling the Print Bed
Bed leveling is one of the most important steps in 3D printing. A well-leveled bed ensures your prints will adhere properly and prevents issues like warping or poor print quality.
Manual Leveling:
If your printer doesn’t have auto-bed leveling, you’ll need to manually adjust the bed. Use the following method:
Preheat your bed and nozzle to the desired temperatures (e.g., nozzle to 200°C, bed to 60°C).
Move the print head to each corner of the bed, placing a piece of paper between the nozzle and the bed.
Adjust the bed screws until you feel a slight resistance when moving the paper. Do this for all four corners and the center of the bed.
Set the Z-Offset so that the nozzle is the correct distance from your bed.
Auto-Leveling:
If your printer has auto-leveling, ensure it’s activated in the settings and let it perform its automated bed calibration. Note: Even if your printer has auto-bed leveling, if it has bed screws, it’s best to manually level the bed first before running the auto-leveling process. This ensures the bed is at the correct starting point for optimal results.


Loading the Filament
If your 3D printer comes with a guide for loading filament, be sure to follow it. If no guide is provided, you can use this general rule to load the filament properly:
Preheat the Nozzle: Heat the nozzle to 220°C (for PLA).
Insert the Filament: Insert the filament into the extruder. Gently push the filament until it starts to extrude from the nozzle.
Extrude the Filament: On most 3D printers, there is an option to extrude filament from the printer's control panel. Use this option to ensure the filament flows smoothly through the nozzle.
Check the Flow: Let the printer extrude a little filament to make sure it’s coming out cleanly and smoothly. If everything looks good, you're ready to start printing!
Tip: Always use freshly stored filament to avoid printing issues caused by moisture.


Selecting Your First Print
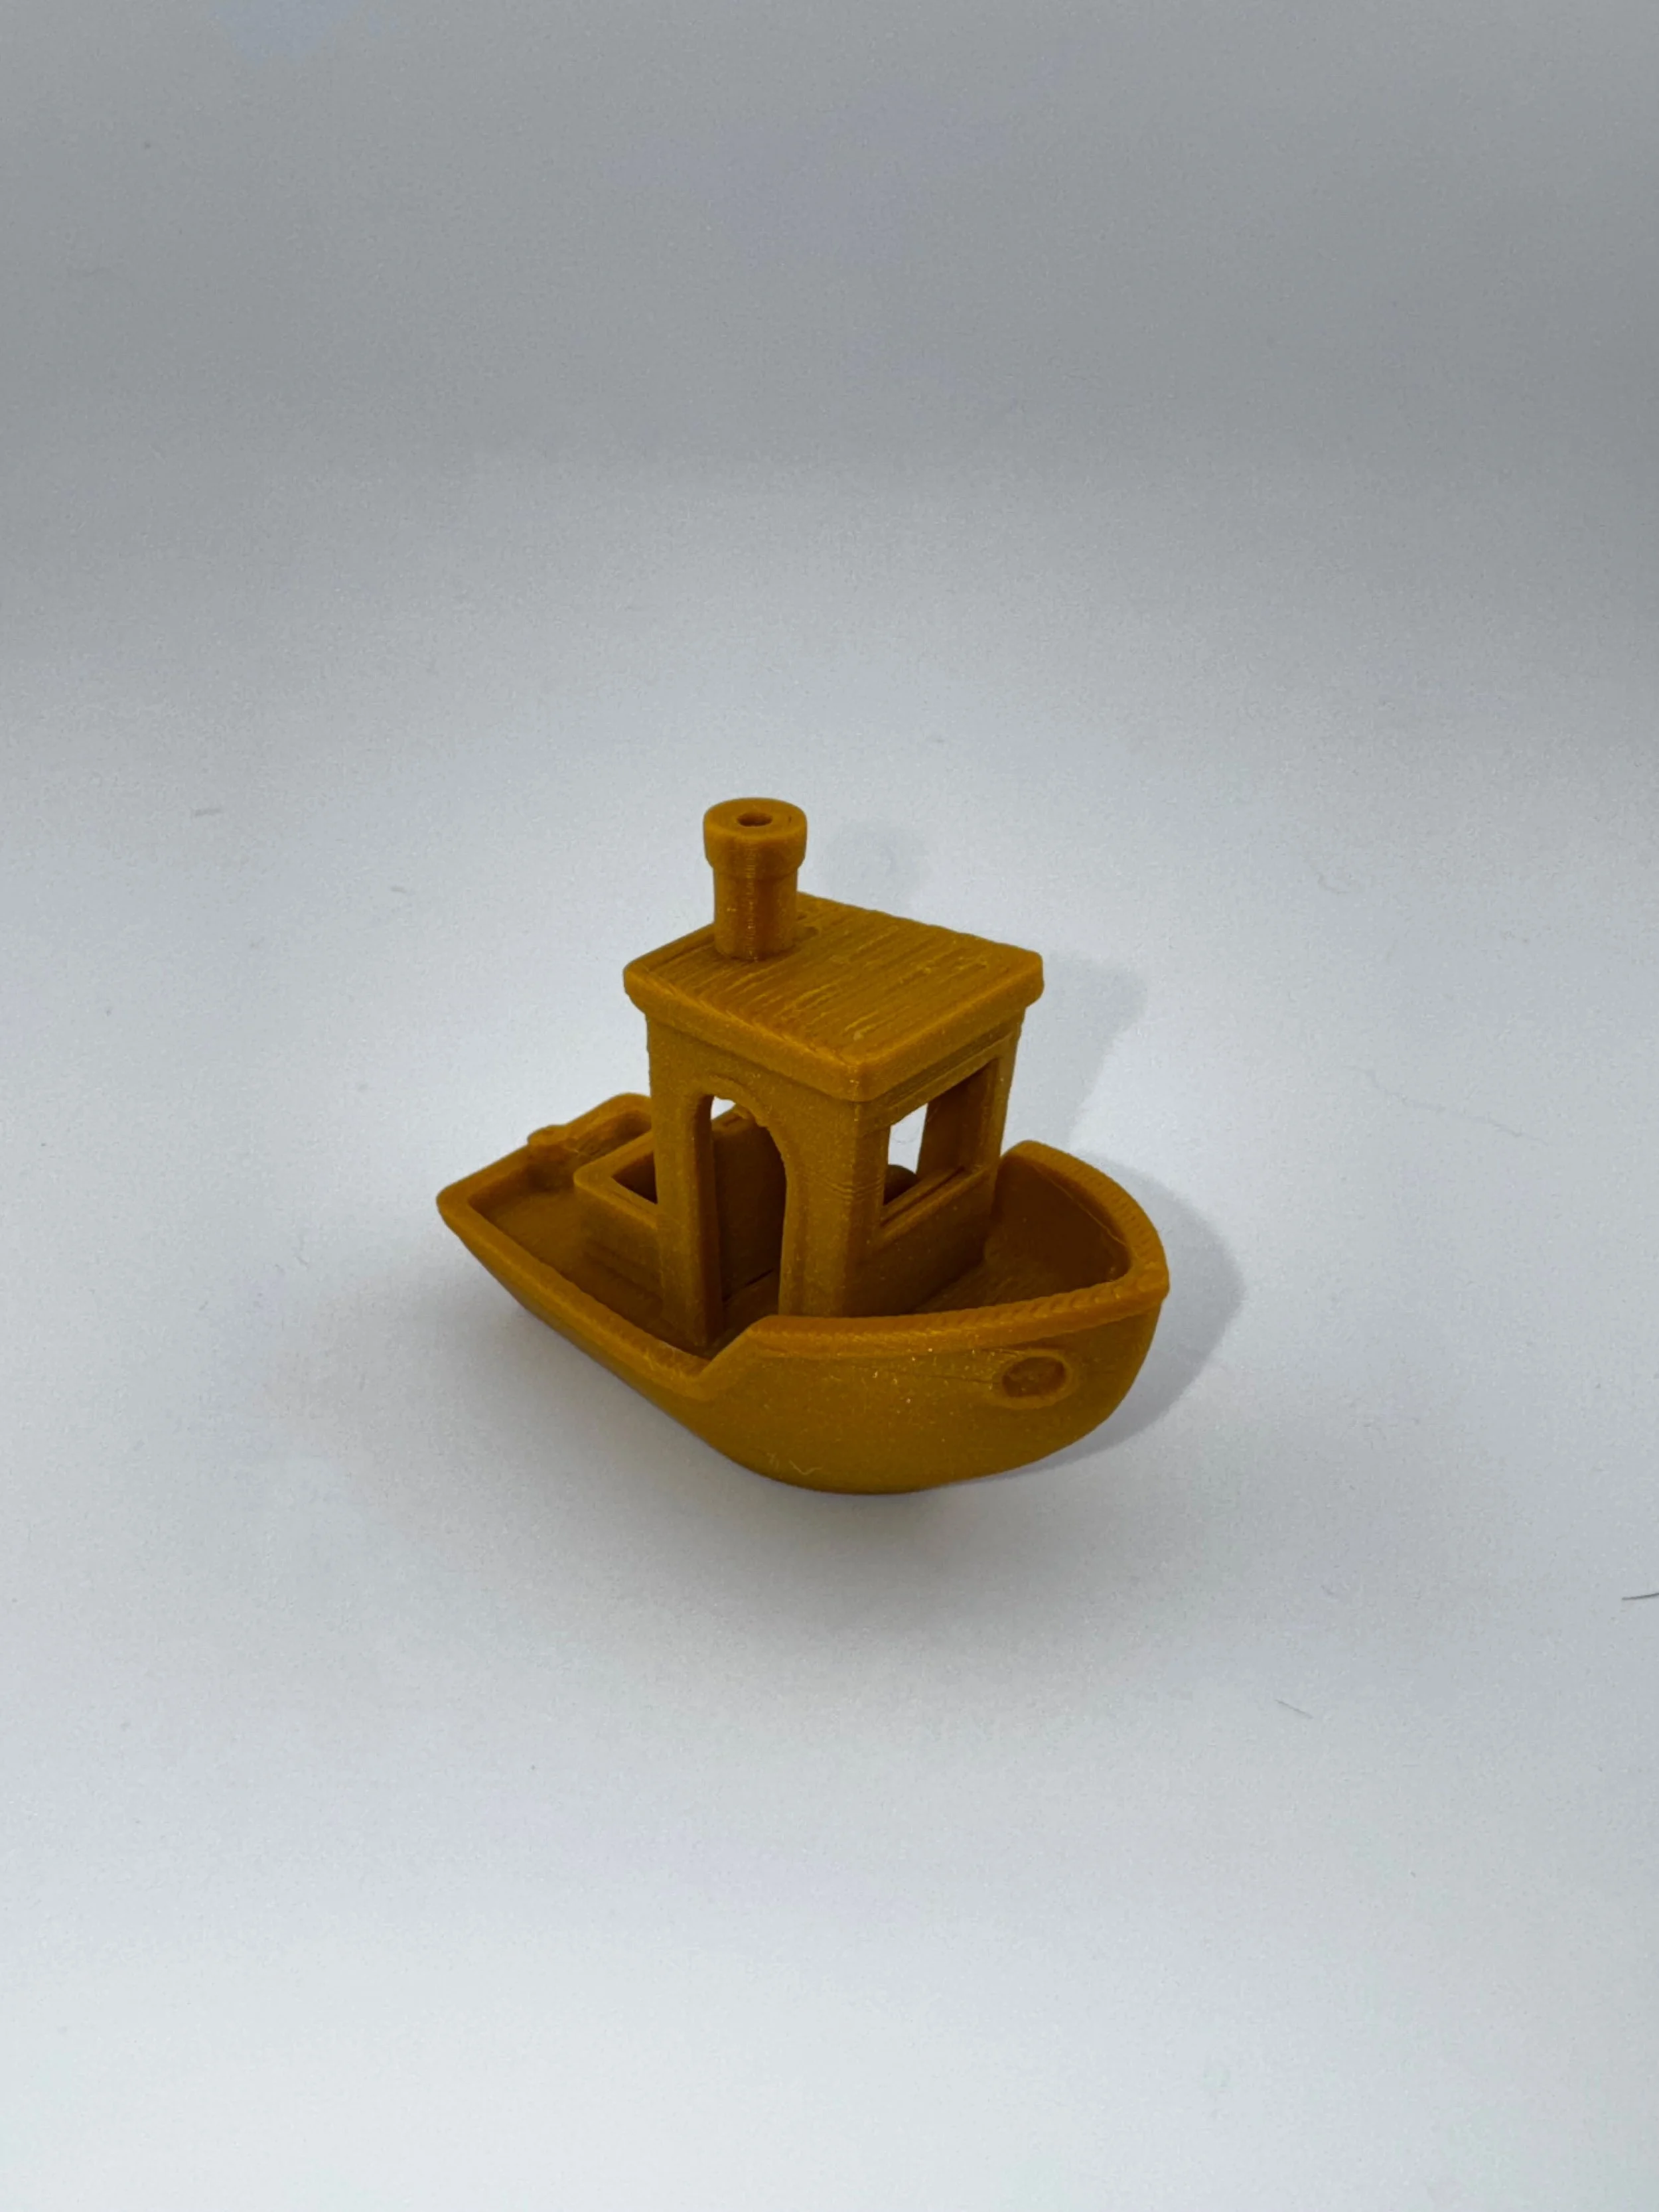
For your first print, it's best to start with something simple like a Benchy (a small boat model) or another easy, low-complexity design. You can find free 3D models on websites like Thingiverse or Printables. A great first print option is available here: Benchy on Thingiverse. These models are designed to test the printer's basic functionality and ensure good print quality.
Slicing and Starting Your Print
Before your printer can start printing, it needs to "slice" your model into layers and create a code for the printer to follow (G-code). Here’s how to slice your model and start your print:
Choose the Right Slicer:
Many printer manufacturers create their own slicers based on others. I recommend starting with the corresponding slicer for your printer, such as Bambu Studio for Bambu Labs printers, Creality Print for Creality printers, and others that match your printer brand.
In the slicer, you will be able to select a profile that works with your printer, making it easier to get started with the correct settings.
Slice Your Model:
Import the model into your selected slicer (such as Creality Print or Bambu Studio).
Once you have imported the model, you can make adjustments such as scaling or rotating the model to fit your print bed or to meet your design needs.
Click Slice and save the G-code file to your SD card or send it directly to the printer, depending on your printer’s interface.
Loading the G-Code onto the Printer:
From the Computer: If your printer is connected to your computer via USB or Wi-Fi, you can send the G-code file directly from your slicer software to the printer.
Using an SD Card: If your printer uses an SD card, insert the SD card into your computer and transfer the G-code file. Then, insert the SD card into your printer.
Starting the Print:
Select the File: On your printer’s control panel, navigate to the file menu, and select the G-code file you just loaded.
Start the Print: Once the file is selected, choose the option to start printing. Your printer should now begin heating the bed and nozzle to the correct temperature, and the printing process will begin.


Monitoring Your Print
Once your printer begins printing, stay nearby, especially during the first few layers. This ensures proper adhesion and gives you a chance to troubleshoot if something goes wrong.
Key Things to Watch For:
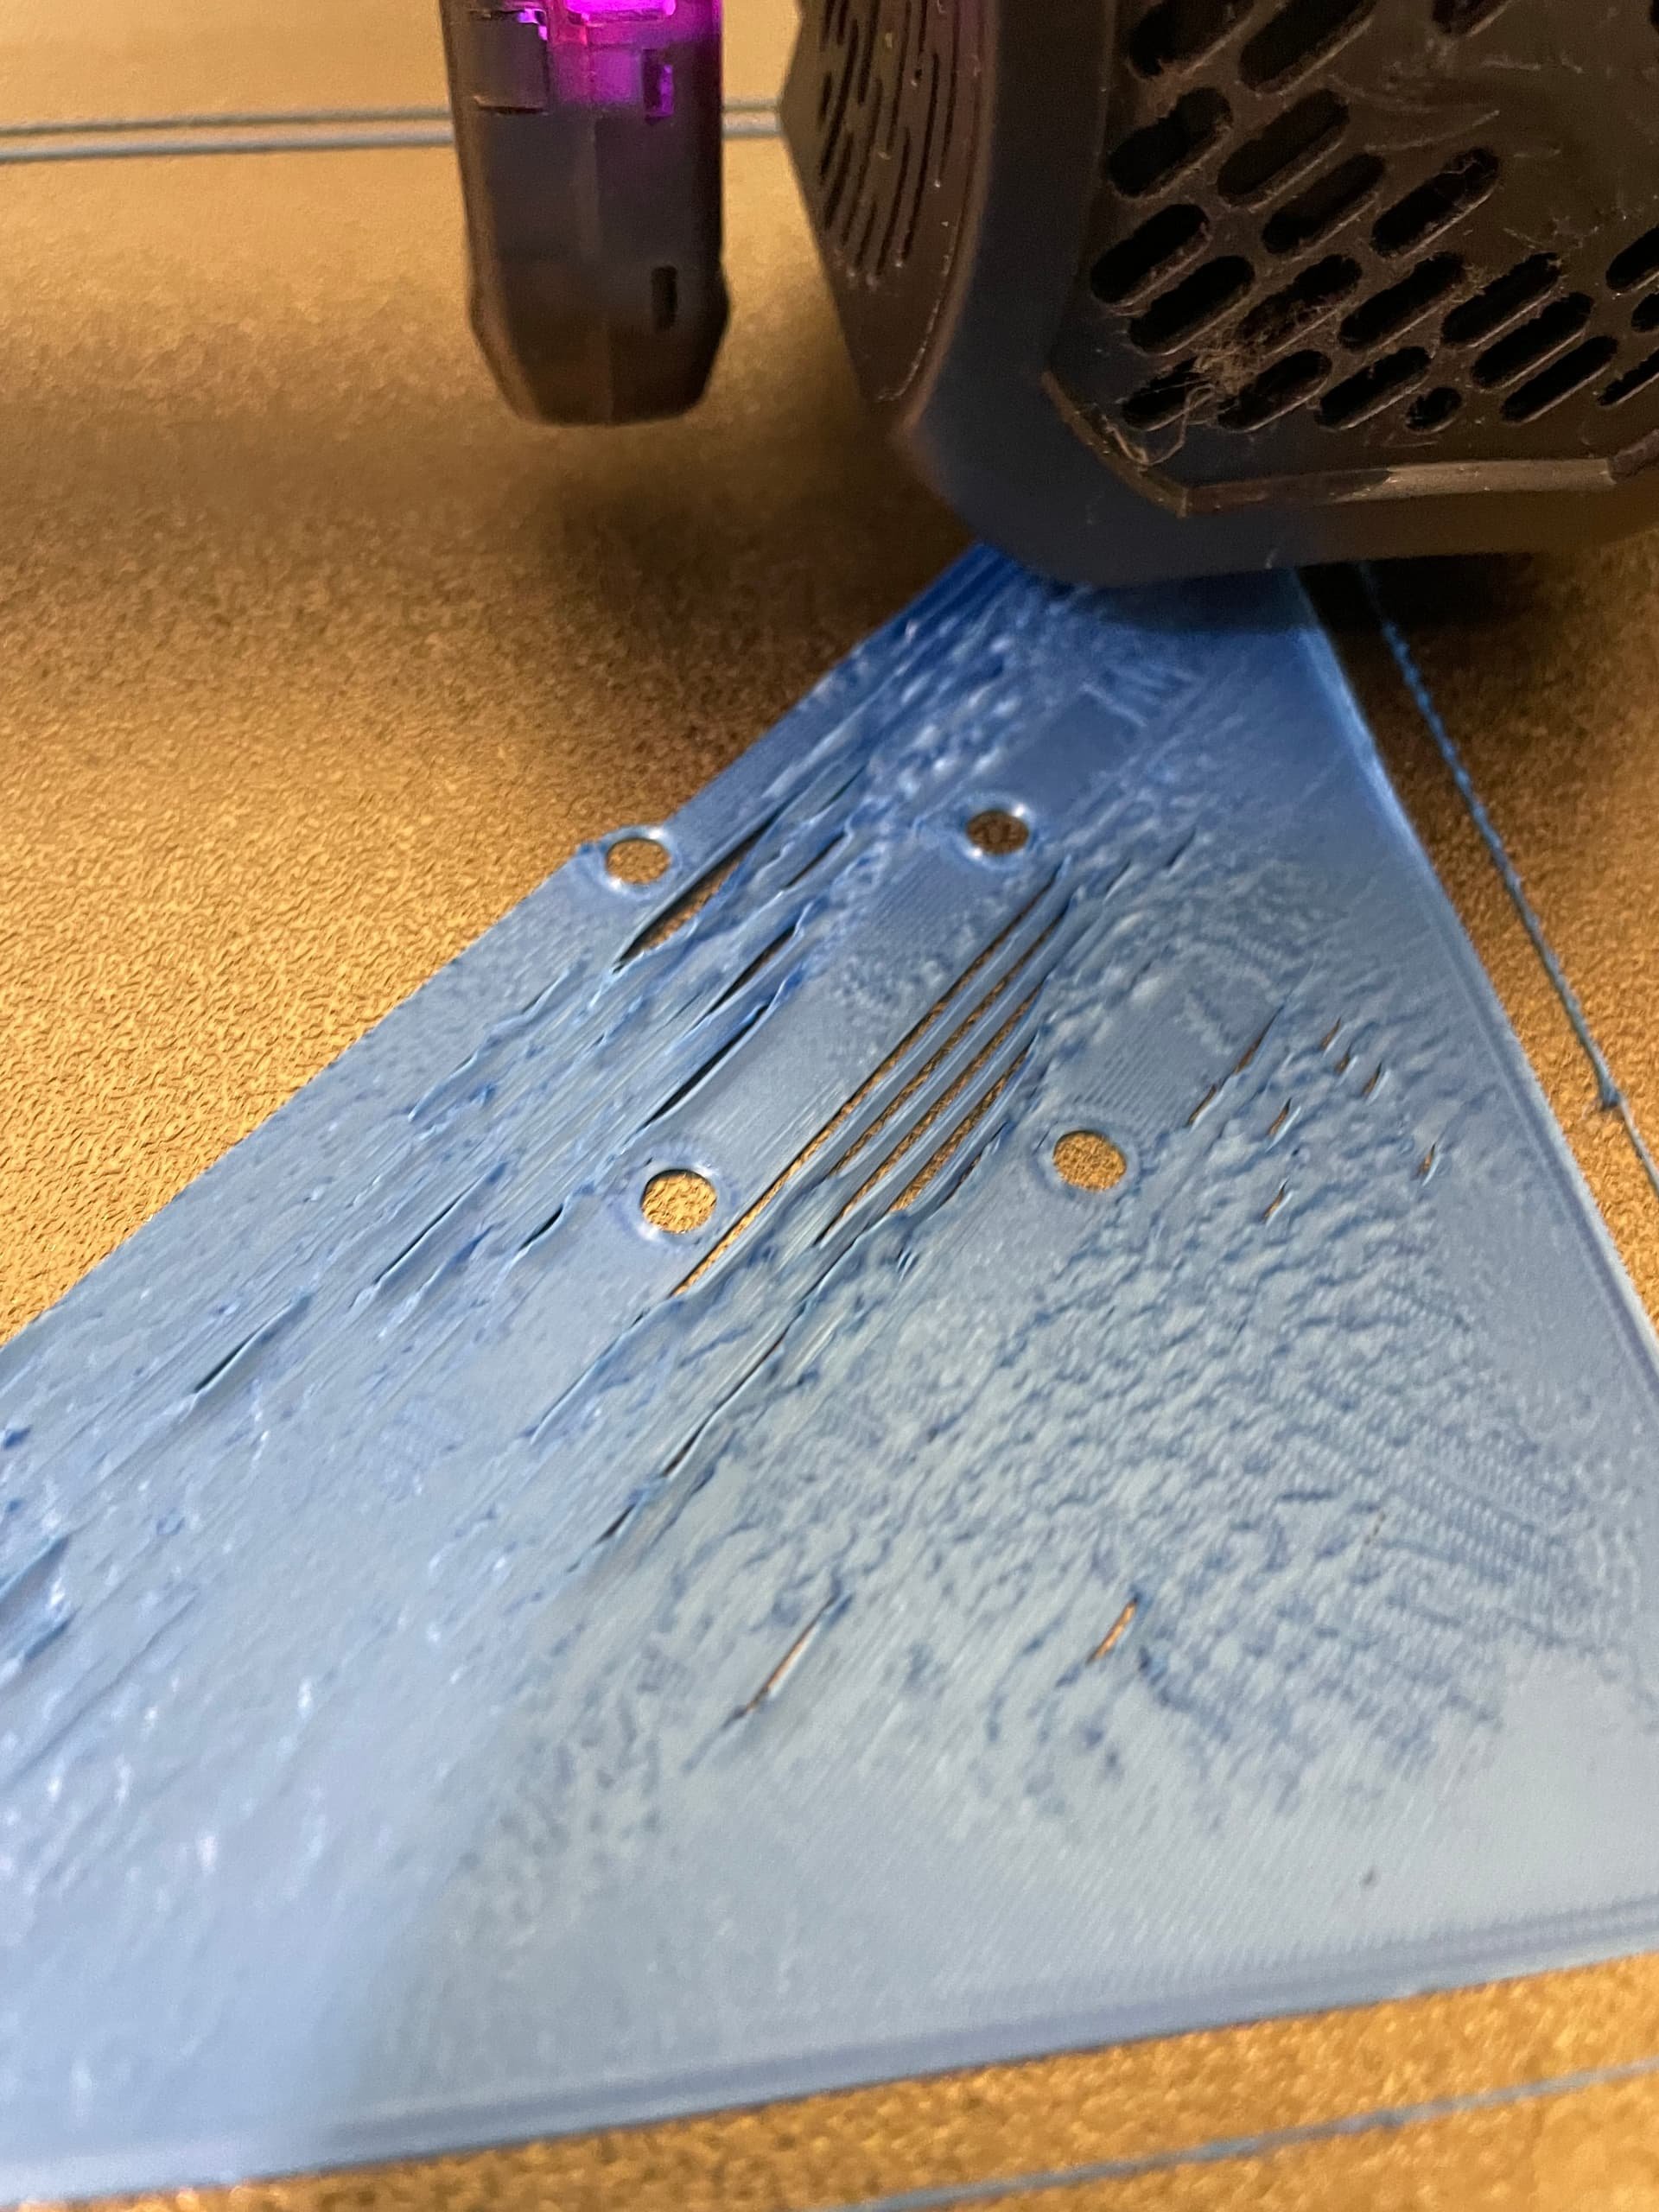
First layer adhesion: If the print doesn’t stick, its usually caused by a dirty or unleveled print bed. Take the proper steps to correct the issue such as washing or releveling the bed.
Stringing or gaps: If filament isn’t extruding properly, check the filament for tangles and ensure the nozzle is clean.

Post-Print Steps
Most of the time, your print will pop right off the bed, but if it doesn’t, let your print bed cool down. Once it has cooled, remove your print by gently flexing the bed. While removing it, if the print is still stuck, gently slide your scraper under the print, being careful not to scratch the bed, to remove it.
Make sure to remove any purge lines or purge towers before starting the next print.
When removing your print, try not to touch the bed, as this can leave oils and cause adhesion issues. If you do touch the bed, wipe it down with IPA or wash the bed with warm water and dish soap to ensure a clean surface.

Up Next
This concludes Chapter 1. Next, we will begin Chapter 2, Part 1, where we dive deeper into the world of 3D printing and explore more advanced topics.
Conclusion
Congratulations on completing your first print! You’ve taken the first step into the exciting world of 3D printing. Don’t be discouraged by any mistakes or challenges along the way, they are part of the learning process. Keep experimenting with different models, fine-tuning your printer and enjoying the journey.
While this chapter provides a wealth of useful information to get you started, it’s important to remember that every 3D printer, slicer, and setup can have unique requirements. Be sure to do specific research on the printer you plan to purchase, the slicer you intend to use, and any additional tools or materials needed for your particular model. Understanding the nuances of your equipment will ensure you’re fully prepared to get the best results from your 3D printing experience.
Feel free to share your first 3D print experiences or ask any questions in the comments below!